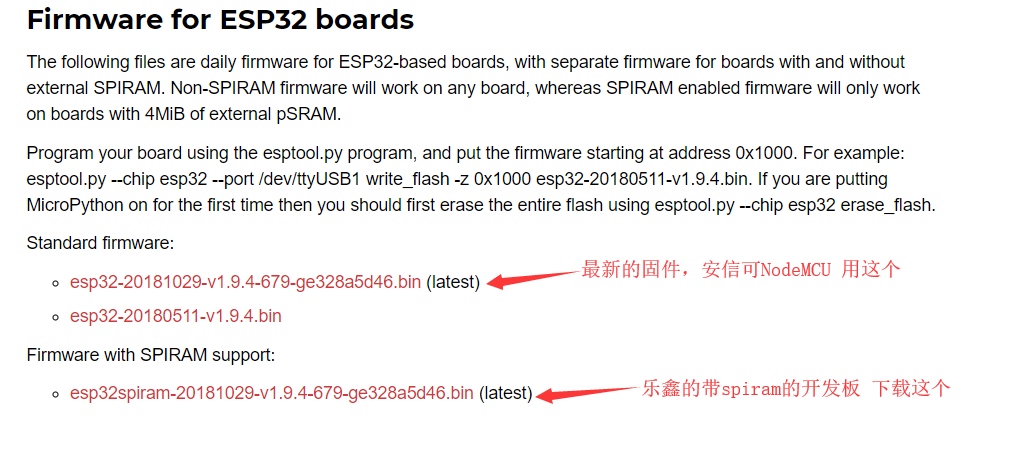
烧录固件
在这里 下载最新固件:
这里,我们使用esp32-20190718-v1.11-163-g0c12adca4.bin。
1 sudo pip3 install esptool
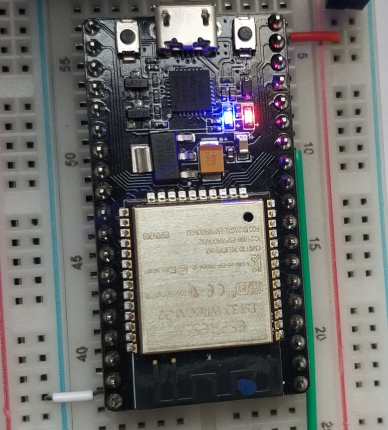
使用usb线将ESP32板卡接上电脑:
1 2 ls -l /dev/ttyUSB* crw-rw---- 1 root dialout 188, 0 Jul 18 15:06 /dev/ttyUSB0
此时,ESP32板卡的端口号为ttyUSB0。
擦除flash:
1 sudo esptool.py --port /dev/ttyUSB0 erase_flash
1 2 3 4 5 6 7 8 9 10 11 12 13 14 esptool.py v2.7 Serial port /dev/ttyUSB0 Connecting........_____....._____....._____....._____....._____....._____.... Detecting chip type... ESP32 Chip is ESP32D0WDQ6 (revision 1) Features: WiFi, BT, Dual Core, 240MHz, VRef calibration in efuse, Coding Scheme None Crystal is 40MHz MAC: a4:cf:12:43:7a:64 Uploading stub... Running stub... Stub running... Erasing flash (this may take a while)... Chip erase completed successfully in 9.1s Hard resetting via RTS pin...
刷入固件:
1 sudo esptool.py --chip esp32 --port /dev/ttyUSB0 write_flash -z 0x1000 esp32-20190718-v1.11-163-g0c12adca4.bin
1 2 3 4 5 6 7 8 9 10 11 12 13 14 15 16 17 18 esptool.py v2.7 Serial port /dev/ttyUSB0 Connecting........_ Chip is ESP32D0WDQ6 (revision 1) Features: WiFi, BT, Dual Core, 240MHz, VRef calibration in efuse, Coding Scheme None Crystal is 40MHz MAC: a4:cf:12:43:7a:64 Uploading stub... Running stub... Stub running... Configuring flash size... Auto-detected Flash size: 4MB Compressed 1167312 bytes to 729727... Wrote 1167312 bytes (729727 compressed) at 0x00001000 in 65.0 seconds (effective 143.7 kbit/s)... Hash of data verified. Leaving... Hard resetting via RTS pin...
测试:
1 2 3 sudo apt-get install picocom sudo picocom -b 115200 /dev/ttyUSB0
1 2 3 4 5 6 7 8 9 10 11 12 13 14 15 16 17 18 19 20 21 22 picocom v2.2 port is : /dev/ttyUSB0 flowcontrol : none baudrate is : 115200 parity is : none databits are : 8 stopbits are : 1 escape is : C-a local echo is : no noinit is : no noreset is : no nolock is : no send_cmd is : sz -vv receive_cmd is : rz -vv -E imap is : omap is : emap is : crcrlf,delbs, Type [C-a] [C-h] to see available commands Terminal ready
回车:
1 2 3 >>> import machine >>> pin2 = machine.Pin(2, machine.Pin.OUT) >>> pin2.value(1)
退出:
先Ctrl + A再Ctrl + Q
CTRL-A -- on a blank line, enter raw REPL mode CTRL-B -- on a blank
line, enter normal REPL mode CTRL-C -- interrupt a running program
CTRL-D -- on a blank line, do a soft reset of the board CTRL-E -- on a
blank line, enter paste mode