Ubuntu下AirSim仿真平台搭建
为了测试新的双目SLAM系统,需要带有ground truth,depth信息的dataset。但寻找后发现这类dataset不多,于是尝试搭建AirSim仿真平台,希望能自己生成一些具有深度的双目数据。
系统环境:
- 型号:Thinkpad T460p
- 显卡:GeForce 940MX
- 系统:Ubuntu 16.04.4 LTS
- 内核:4.13.0-36-generic
- CUDA: 9.1
显卡驱动
太新或太久的驱动都不行1,我尝试过使用396,但是场景会一片白,更换为384版本:
1 | sudo apt-get remove --purge nvidia* |
Install and Build2
根据这里注册Epic Games帐号,并且关联github账号。
We use the same compiler that Unreal Engine uses, Clang 5.0, and stdlib, libc++.
1 | sudo apt-get install build-essential mono-mcs mono-devel mono-xbuild mono-dmcs mono-reference-assemblies-4.0 libmono-system-data-datasetextensions4.0-cil libmono-system-web-extensions4.0-cil libmono-system-management4.0-cil libmono-system-xml-linq4.0-cil cmake dos2unix clang-5.0 libfreetype6-dev libgtk-3-dev libmono-microsoft-build-tasks-v4.0-4.0-cil xdg-user-dirs |
安装UnrealEngine
1 | # go to the folder where you clone GitHub projects |
安装AirSim.git
1 | # go to the folder where you clone GitHub projects |
如果遇到mono-devel : Depends: libmono-cil-dev (= 3.2.8+dfsg-4ubuntu1.1) but it is not going to be installed
错误,将源换成mirrors.163.com的就可以了。
Built-in Blocks Environment3
为了测试安装结果,运行自带的Blocks Environment作测试。
RunUnrealEngine/Engine/Binaries/Linux/UE4Editor, Click
on Projects tab, Browse button and then navigate to
AirSim/Unreal/Environments/Blocks/Blocks.uproject
If you get prompted for incompatible version and conversion, select In-place conversion which is usually under "More" options. If you get prompted for missing modules, make sure to select No so you don't exit.
Press the Play button in Unreal Editor and you will see something like in below(use F1 to see help on keys).

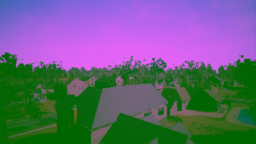
"Computer Vision" Mode4
You can use AirSim in so-called "Computer Vision" mode. In this mode, physics engine is disabled and there is no vehicle, just cameras. You can move around using keyboard (use F1 to see help on keys). You can press Record button to continuously generate images. Or you can call APIs to move cameras around and take images.
To active this mode, edit settings.json that you can find in your
Documentsfolder (or ~/Documents/AirSim on Linux) and make sure following
values exist at root level(更多settings.json设置参考5):
1 | { |
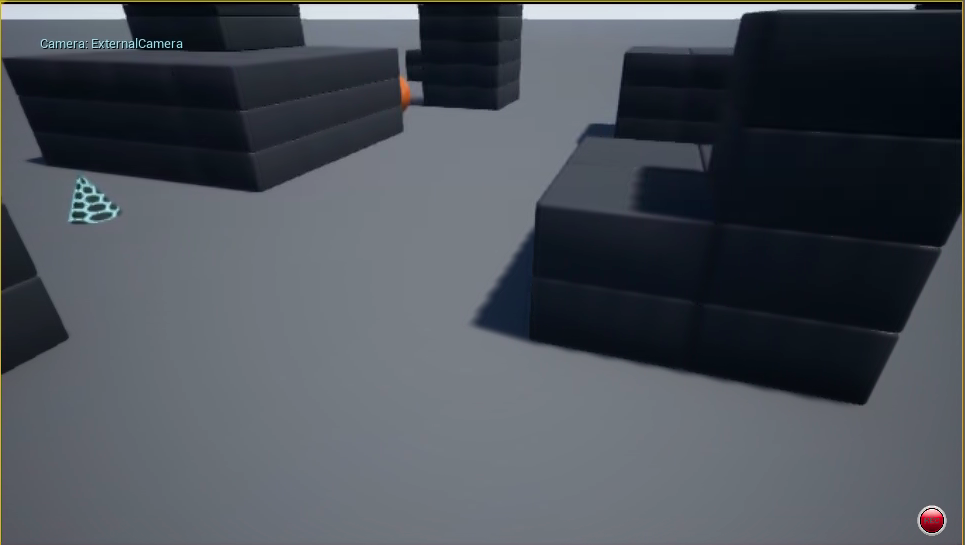
设置好后,按Play button,效果如下。
AirSim APIs6
1 | sudo pip install msgpack-rpc-python |
在设置好Computer Vision Mode情况下,按下Play键运行仿真,然后打开一个终端(主要不要在IDE中运行,有可能会出现termios.error: (25, 'Inappropriate ioctl for device')错误),输入:
1 | cd AirSim/PythonClient/ |
会输出:
1 | Connected! |
Create Your Own Unreal Environment
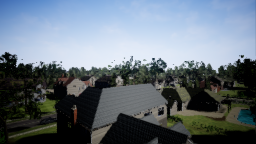
以Modular Neighborhood Pack7为例。New Project > C++ > Basic Code,将项目名改为Neighborhood,注意设置no Starter Content。将包含Modular
Neighborhood
Pack数据的文件夹放置到Neighborhood项目文件夹的Content文件夹内。
Edit > Project Settings > Maps & Modes > Editor Startup Map设置为Demp_Map8。
关掉,重启项目,等待场景打开后,Blueprints > Open level Blueprint,右击MatineeActor
Event BeginPlay,选择Break Link(s),然后关掉窗口。
If the environment comes with MatineeActor, delete it to avoid any startup demo sequences. There might be other ways to remove it as well, for example, click on Blueprints button, then Level Blueprint and then look at Begin Play event in Event Graph. You might want to disconnect any connections that may be starting "matinee"9.
From the File menu select New C++ class, leave default None on the type of class, click Next, leave default name MyClass, and click Create Class.
1 | rsync -a --delete AirSim/Unreal/Plugins path/to/Project |
Save Current,关闭软件。使用文本编辑器打开项目文件Neighborhood.uproject,编辑为:
1 | { |
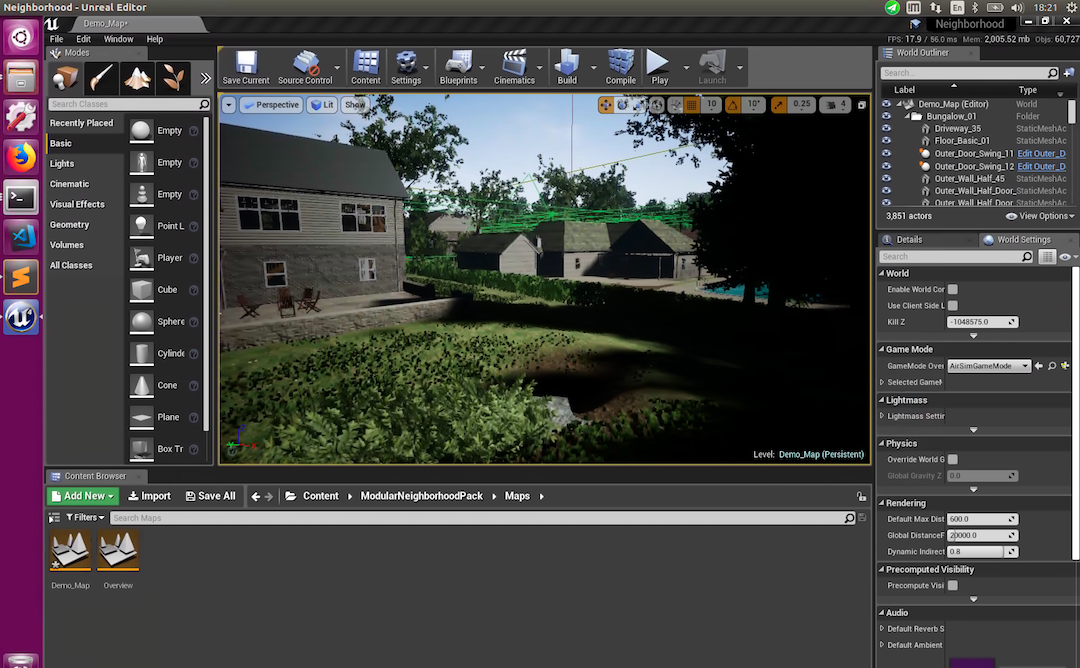
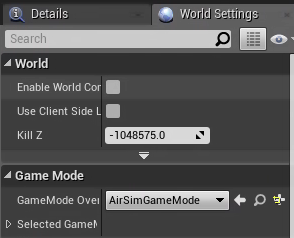
重新运行Neighborhood.uproject,在World Settings > Game Mode中选择AirSimGameMode。
在Multi rotor模式下10,按play键运行场景,然后打开一个终端,输入:
1 | cd AirSim/PythonClient/ |
会输出:
1 | Connected! |
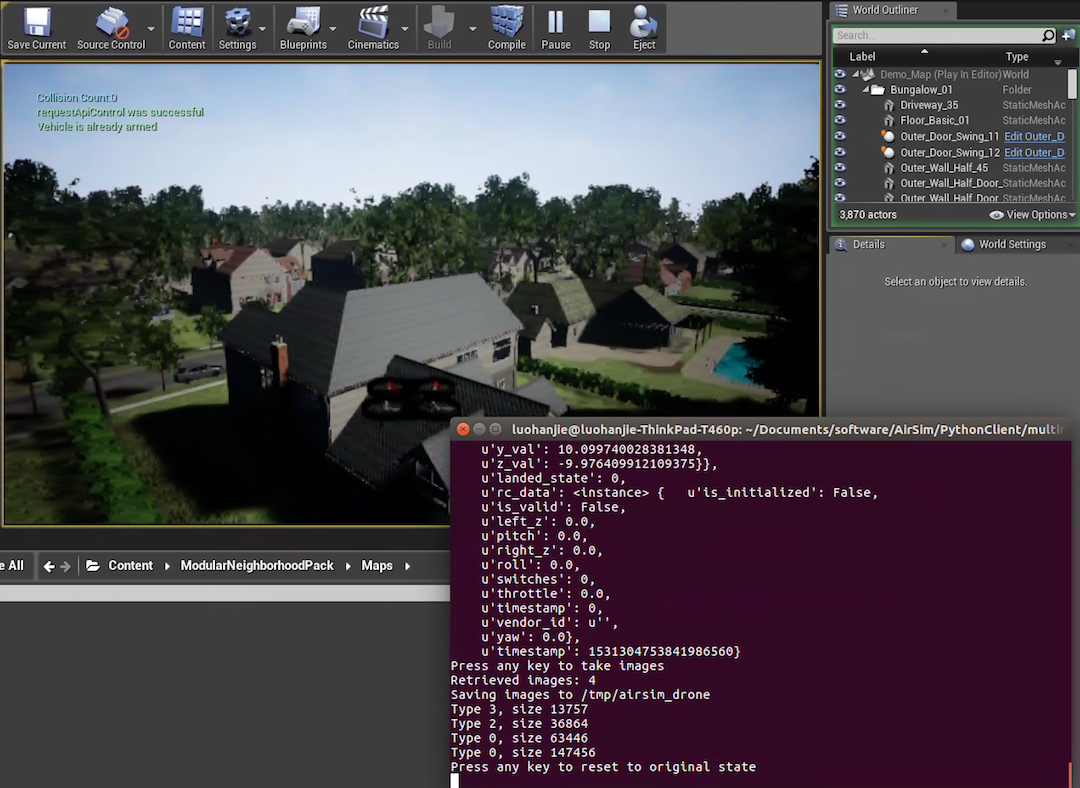
运行结束后,在\tmp\airsim_drone文件夹中,会有一些输出数据。

https://blog.csdn.net/CSDNhuaong/article/details/79147365↩︎
https://github.com/Microsoft/AirSim/blob/master/docs/build_linux.md↩︎
https://github.com/Microsoft/AirSim/blob/master/docs/unreal_blocks.md↩︎
https://github.com/Microsoft/AirSim/blob/master/docs/image_apis.md#computer-vision-mode-1↩︎
https://github.com/Microsoft/AirSim/blob/master/docs/settings.md#simmode↩︎
https://github.com/Microsoft/AirSim/blob/master/docs/image_apis.md#computer-vision-mode-1↩︎
https://www.unrealengine.com/marketplace/modular-neighborhood-pack↩︎
https://github.com/1508189250/AirSim/blob/master/docs/build.md↩︎
https://github.com/1508189250/AirSim/blob/master/docs/build.md↩︎
https://github.com/Microsoft/AirSim/blob/master/docs/settings.md#simmode↩︎