deb http://mirrors.163.com/ubuntu/ xenial main restricted universe multiverse deb http://mirrors.163.com/ubuntu/ xenial-security main restricted universe multiverse deb http://mirrors.163.com/ubuntu/ xenial-updates main restricted universe multiverse deb http://mirrors.163.com/ubuntu/ xenial-proposed main restricted universe multiverse deb http://mirrors.163.com/ubuntu/ xenial-backports main restricted universe multiverse deb-src http://mirrors.163.com/ubuntu/ xenial main restricted universe multiverse deb-src http://mirrors.163.com/ubuntu/ xenial-security main restricted universe multiverse deb-src http://mirrors.163.com/ubuntu/ xenial-updates main restricted universe multiverse deb-src http://mirrors.163.com/ubuntu/ xenial-proposed main restricted universe multiverse deb-src http://mirrors.163.com/ubuntu/ xenial-backports main restricted universe multiverse
nvcc: NVIDIA (R) Cuda compiler driver Copyright (c) 2005-2017 NVIDIA Corporation Built on Fri_Nov__3_21:07:56_CDT_2017 Cuda compilation tools, release 9.1, V9.1.85
cd /NVIDIA_CUDA-9.1_Samples/1_Utilities/deviceQuery make ./deviceQuery
CUDA Device Query (Runtime API) version (CUDART static linking)
Detected 1 CUDA Capable device(s)
Device 0: "GeForce 940MX" CUDA Driver Version / Runtime Version 9.2 / 9.1 CUDA Capability Major/Minor version number: 5.0 Total amount of global memory: 2004 MBytes (2101870592 bytes) ( 3) Multiprocessors, (128) CUDA Cores/MP: 384 CUDA Cores GPU Max Clock rate: 1242 MHz (1.24 GHz) Memory Clock rate: 1001 Mhz Memory Bus Width: 64-bit L2 Cache Size: 1048576 bytes Maximum Texture Dimension Size (x,y,z) 1D=(65536), 2D=(65536, 65536), 3D=(4096, 4096, 4096) Maximum Layered 1D Texture Size, (num) layers 1D=(16384), 2048 layers Maximum Layered 2D Texture Size, (num) layers 2D=(16384, 16384), 2048 layers Total amount of constant memory: 65536 bytes Total amount of shared memory per block: 49152 bytes Total number of registers available per block: 65536 Warp size: 32 Maximum number of threads per multiprocessor: 2048 Maximum number of threads per block: 1024 Max dimension size of a thread block (x,y,z): (1024, 1024, 64) Max dimension size of a grid size (x,y,z): (2147483647, 65535, 65535) Maximum memory pitch: 2147483647 bytes Texture alignment: 512 bytes Concurrent copy and kernel execution: Yes with 1 copy engine(s) Run time limit on kernels: Yes Integrated GPU sharing Host Memory: No Support host page-locked memory mapping: Yes Alignment requirement for Surfaces: Yes Device has ECC support: Disabled Device supports Unified Addressing (UVA): Yes Supports Cooperative Kernel Launch: No Supports MultiDevice Co-op Kernel Launch: No Device PCI Domain ID / Bus ID / location ID: 0 / 2 / 0 Compute Mode: < Default (multiple host threads can use ::cudaSetDevice() with device simultaneously) >
deviceQuery, CUDA Driver = CUDART, CUDA Driver Version = 9.2, CUDA Runtime Version = 9.1, NumDevs = 1 Result = PASS
clang -v clang version 5.0.0-3~16.04.1 (tags/RELEASE_500/final) Target: x86_64-pc-linux-gnu Thread model: posix InstalledDir: /usr/bin Found candidate GCC installation: /usr/bin/../lib/gcc/x86_64-linux-gnu/5 Found candidate GCC installation: /usr/bin/../lib/gcc/x86_64-linux-gnu/5.4.0 Found candidate GCC installation: /usr/bin/../lib/gcc/x86_64-linux-gnu/6 Found candidate GCC installation: /usr/bin/../lib/gcc/x86_64-linux-gnu/6.0.0 Found candidate GCC installation: /usr/lib/gcc/x86_64-linux-gnu/5 Found candidate GCC installation: /usr/lib/gcc/x86_64-linux-gnu/5.4.0 Found candidate GCC installation: /usr/lib/gcc/x86_64-linux-gnu/6 Found candidate GCC installation: /usr/lib/gcc/x86_64-linux-gnu/6.0.0 Selected GCC installation: /usr/bin/../lib/gcc/x86_64-linux-gnu/5.4.0 Candidate multilib: .;@m64 Selected multilib: .;@m64 Found CUDA installation: /usr/local/cuda, version unknown
安装UnrealEngine
1 2 3 4 5 6
# go to the folder where you clone GitHub projects git clone -b 4.18 https://github.com/EpicGames/UnrealEngine.git cd UnrealEngine ./Setup.sh ./GenerateProjectFiles.sh make
安装AirSim.git
1 2 3 4 5
# go to the folder where you clone GitHub projects
git clone https://github.com/Microsoft/AirSim.git
cd AirSim
./setup.sh
./build.sh
如果遇到mono-devel : Depends: libmono-cil-dev (= 3.2.8+dfsg-4ubuntu1.1) but it is not going to be installed
错误,将源换成mirrors.163.com的就可以了。
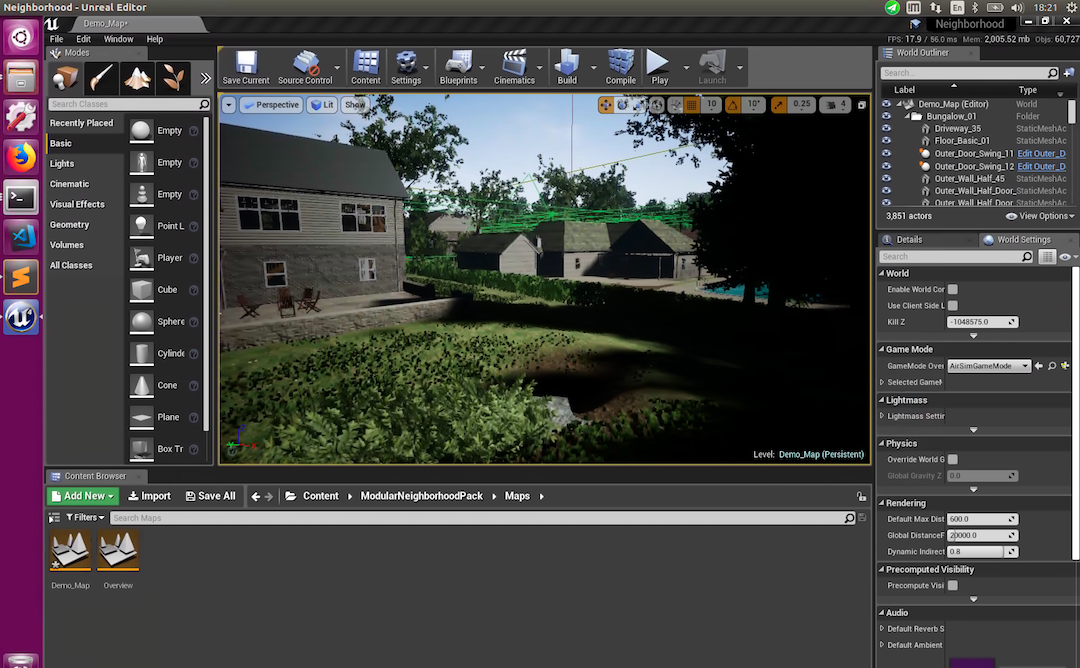
RunUnrealEngine/Engine/Binaries/Linux/UE4Editor, Click
on Projects tab, Browse button and then navigate to
AirSim/Unreal/Environments/Blocks/Blocks.uproject
If you get prompted for incompatible version and conversion, select
In-place conversion which is usually under "More" options. If you get
prompted for missing modules, make sure to select No so you don't
exit.
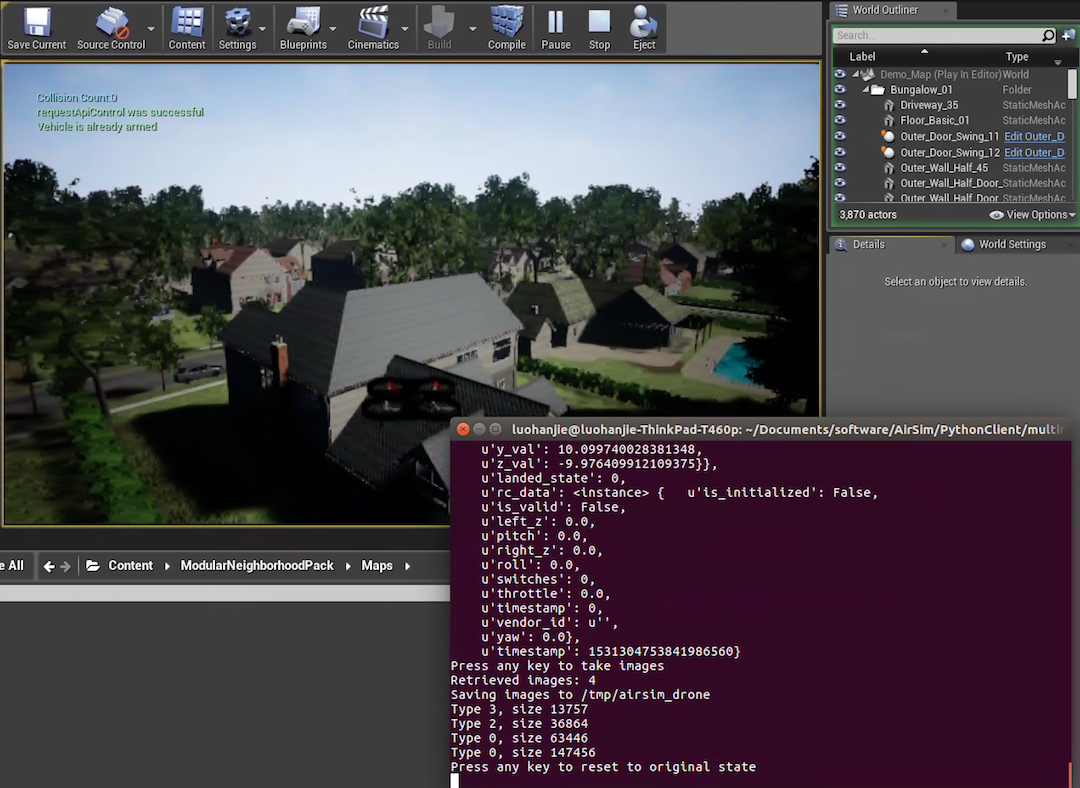
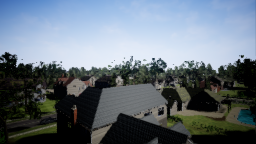
Press the Play button in Unreal Editor and you will see something
like in below(use F1 to see help on keys).
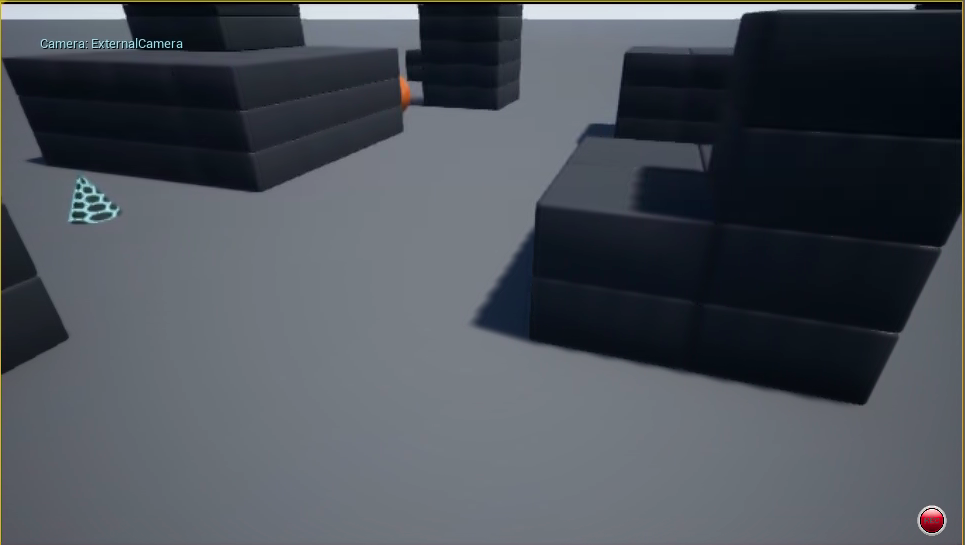
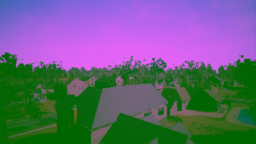
You can use AirSim in so-called "Computer Vision" mode. In this mode,
physics engine is disabled and there is no vehicle, just cameras. You
can move around using keyboard (use F1 to see help on keys). You can
press Record button to continuously generate images. Or you can call
APIs to move cameras around and take images.
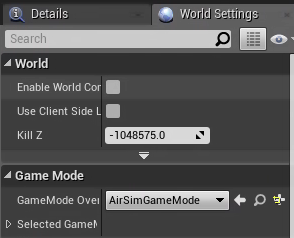
To active this mode, edit settings.json that you can find in your
Documentsfolder (or ~/Documents/AirSim on Linux) and make sure following
values exist at root level(更多settings.json设置参考5):
Press any key to set camera-0 gamble to 15-degree pitch Press any key to get camera parameters <instance> { u'fob': 90.0, u'pose': <instance> { u'orientation': ...
关掉,重启项目,等待场景打开后,Blueprints > Open level Blueprint,右击MatineeActorEvent BeginPlay,选择Break Link(s),然后关掉窗口。
If the environment comes with MatineeActor, delete it to avoid any
startup demo sequences. There might be other ways to remove it as well,
for example, click on Blueprints button, then Level Blueprint and then
look at Begin Play event in Event Graph. You might want to disconnect
any connections that may be starting "matinee"9.
Own Unreal Environment
From the File menu select New C++ class, leave default None on the
type of class, click Next, leave default name MyClass, and click Create
Class.
1
rsync -a --delete AirSim/Unreal/Plugins path/to/Project
Save Current,关闭软件。使用文本编辑器打开项目文件Neighborhood.uproject,编辑为: